
引言
每次看到有大佬的 Github 主页很炫酷,自己总是羡慕不已,那些大佬真是厉害,不仅技术强,就连 Github 个人主页都酷的一批。
于是我便查阅资料,最终决定美化一下自己的 Github 主页 (虽然我是个小菜鸡,什么开源好项目都没写出来…)
个人主页的美化
GitHub 支持定制主页,相关文档:设置和管理 GitHub 配置文件 | Github 官方文档
新建仓库
在自己的 Github 主页中新建一个仓库,仓库名必须为自己 GitHub 用户名,例如下图为rento666,然后添加一个README.md文件,我们只需向这个文件添加需要的信息即可。
如下图所示,图中没有勾选Add a README file,推荐勾选上(勾选上就省去自己手动创建了),此时点击创建,即为创建成功。
- rento666/rento666 是一个 ✨ 特殊 ✨ 存储库,您可以用它来将 README.md 添加到您的 GitHub 个人资料中。确保它是公开的,并使用 README 对其进行初始化以开始使用。

编辑 README
下面是编辑 README.md 文件的界面:
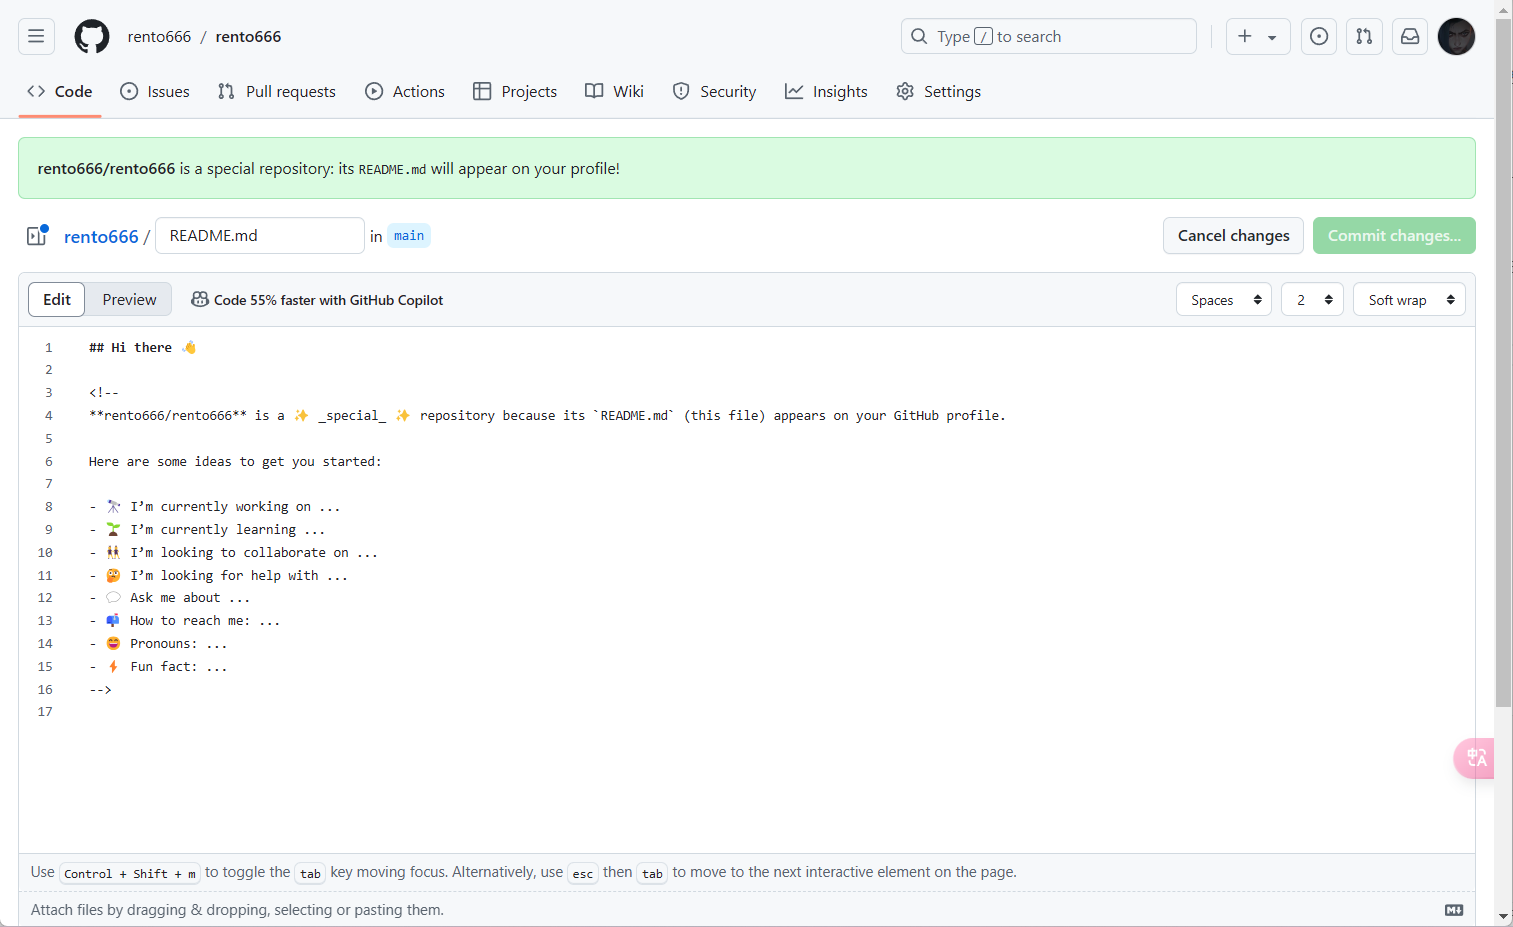
让我们开始吧
可以在 README 中添加的内容可以是自己的介绍、开源项目、个人信息、博客、简历等。
Markdown 扩展性很高、支持 HTML、Emoji 等,所以可以定制自己独一无二的主页~
不过人的精力是有限的,所以我们可以将自己认为好的模板 Fork 到自己仓库,然后修改为自己的风格。
分享一下优秀合集:
awesome-github-profile-readme | Github
awesome-github-profiles | Github
beautify-github-profile | Github
awesome github profile readme chinese | Github
awesome-github-profile-readme-templates | Github
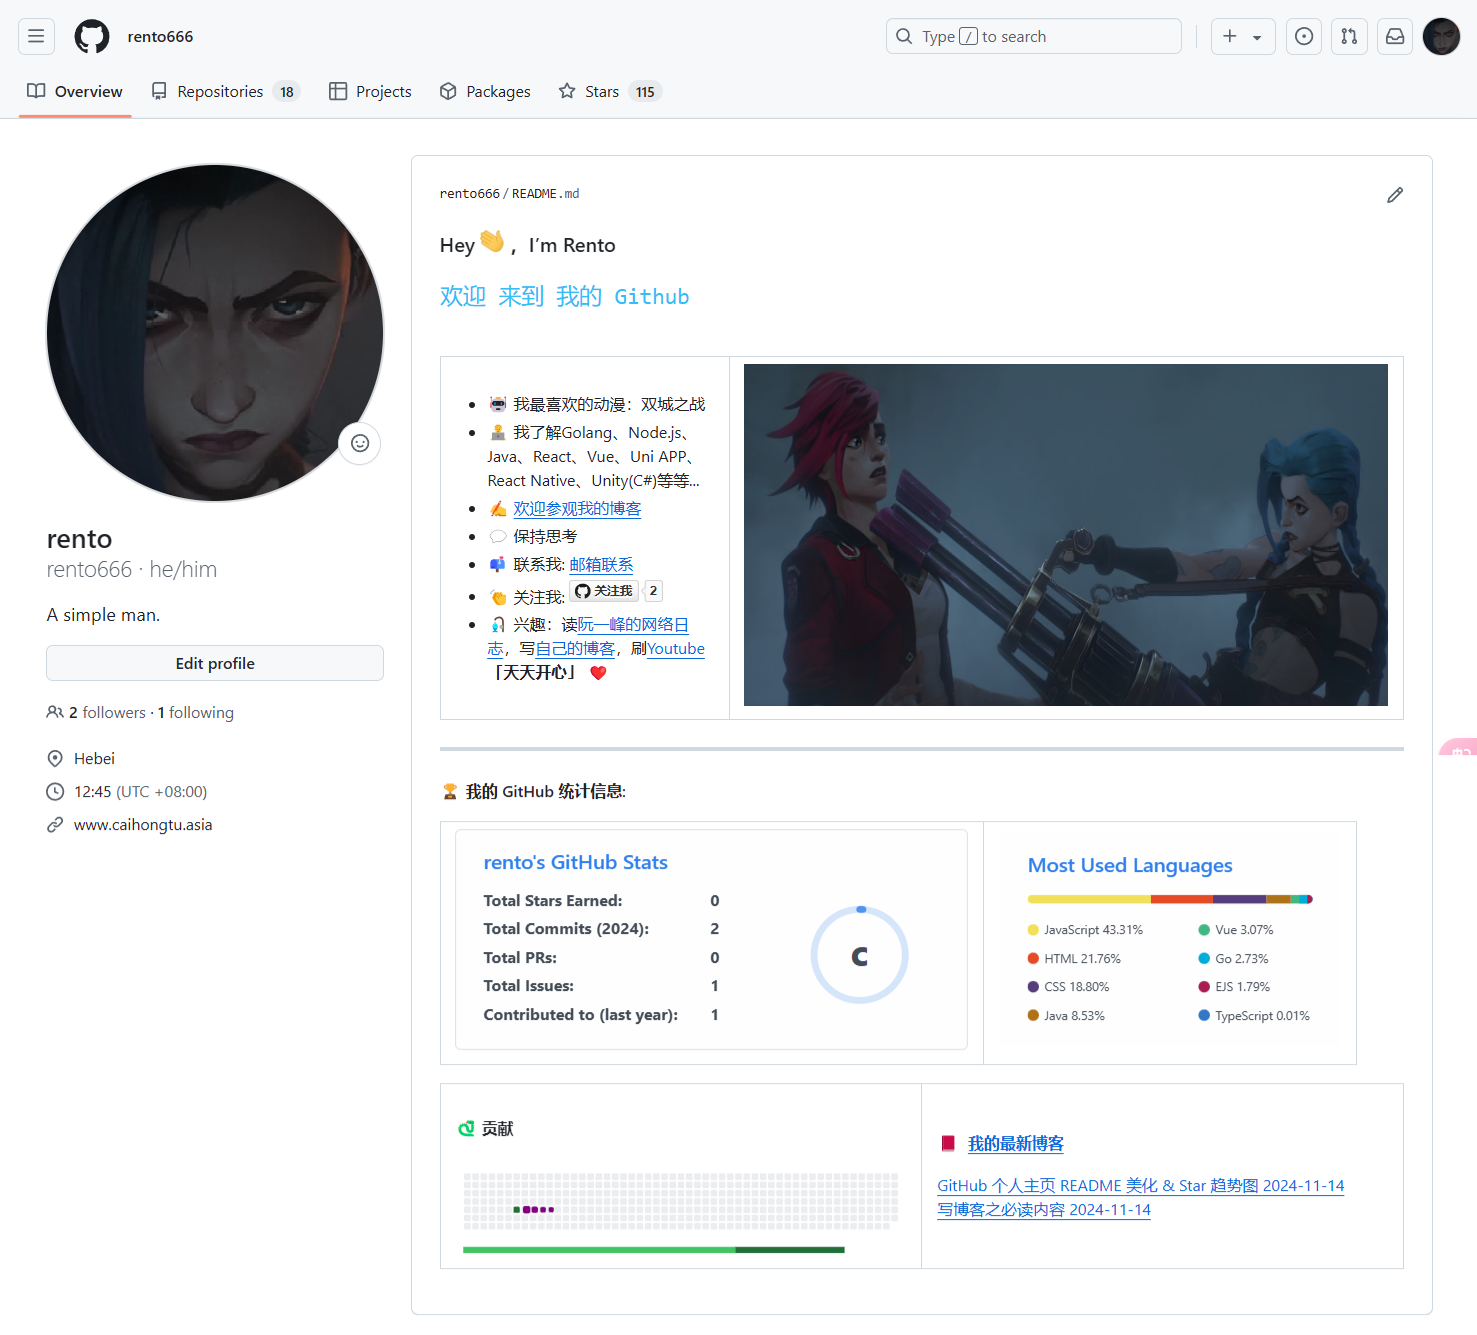
我的主页
因为我喜欢看双城之战,所以用到了动漫里的图片,主页截图如下(长截图,加载可能较慢):
修改
在我的主页中,我使用了以下模板,您可以复制到自己的README.md文件中:
- 第一步,复制 README:
### Hey <img src="https://media.giphy.com/media/hvRJCLFzcasrR4ia7z/giphy.gif" width="25px">,I’m Rento<table> <tr> <td valign="center" width="30%"> - 🤖 我最喜欢的动漫:双城之战 - 👨💻 我了解Golang、Node.js、Java、React、Vue、Uni APP、React Native、Unity(C#)等等… - ✍️ 欢迎参观我的博客 - 💬 保持思考 - 📫 联系我: 邮箱联系 - 👏 关注我:
- 🎣 兴趣:读阮一峰的网络日志,写自己的博客,刷Youtube 「天天开心」 ❤️ </td> <td valign="center" width="100%" height="100%"> <img src="https://github.com/user-attachments/assets/7e018694-352d-494a-9a22-89d7d21f52b6" width="703" height="300"> </td> </tr> </table> <hr/> 🏆 我的 GitHub 统计信息: |
|
| |-|-| <table> <tr> <td valign="center" width="50%"> #### 🐍 贡献 <picture> <source media="(prefers-color-scheme: dark)" srcset="https://raw.githubusercontent.com/rento666/rento666/output/github-contribution-grid-snake-dark.svg"> <source media="(prefers-color-scheme: light)" srcset="https://raw.githubusercontent.com/rento666/rento666/output/github-contribution-grid-snake.svg"> <img alt="github contribution grid snake animation" src="https://raw.githubusercontent.com/rento666/rento666/output/github-contribution-grid-snake.svg"> </picture> </td> <td valign="center" width="50%"> 📕 我的最新博客 <!– BLOG-POST-LIST:START –> <!– BLOG-POST-LIST:END –> </td> </tr> </table>
-
第二步,复制好之后,按
CTRL+F,自行替换姓名、用户名、兴趣爱好、博客链接等信息。 -
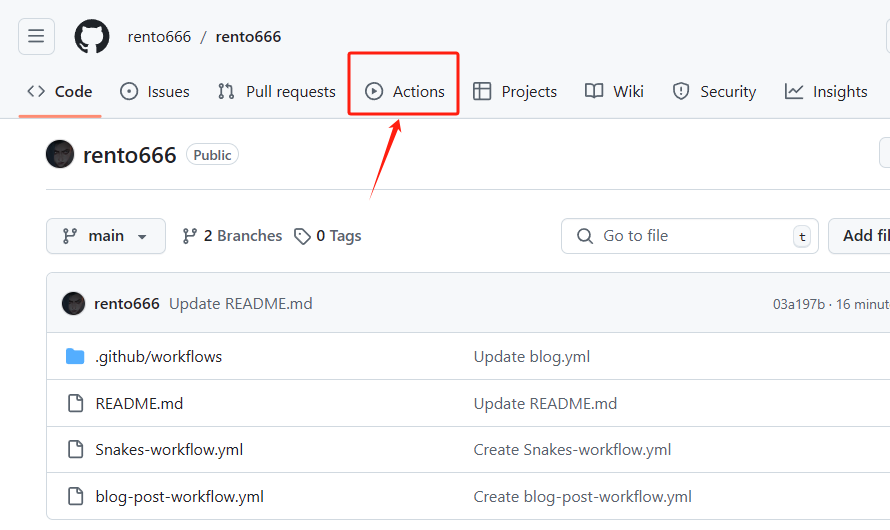
第三步,修改好 README.md 之后呢,在仓库里点击 Actions 创建 workflow(工作流),如下图所示:
进去之后,点
Simple workflow的Configure, 如下图所示: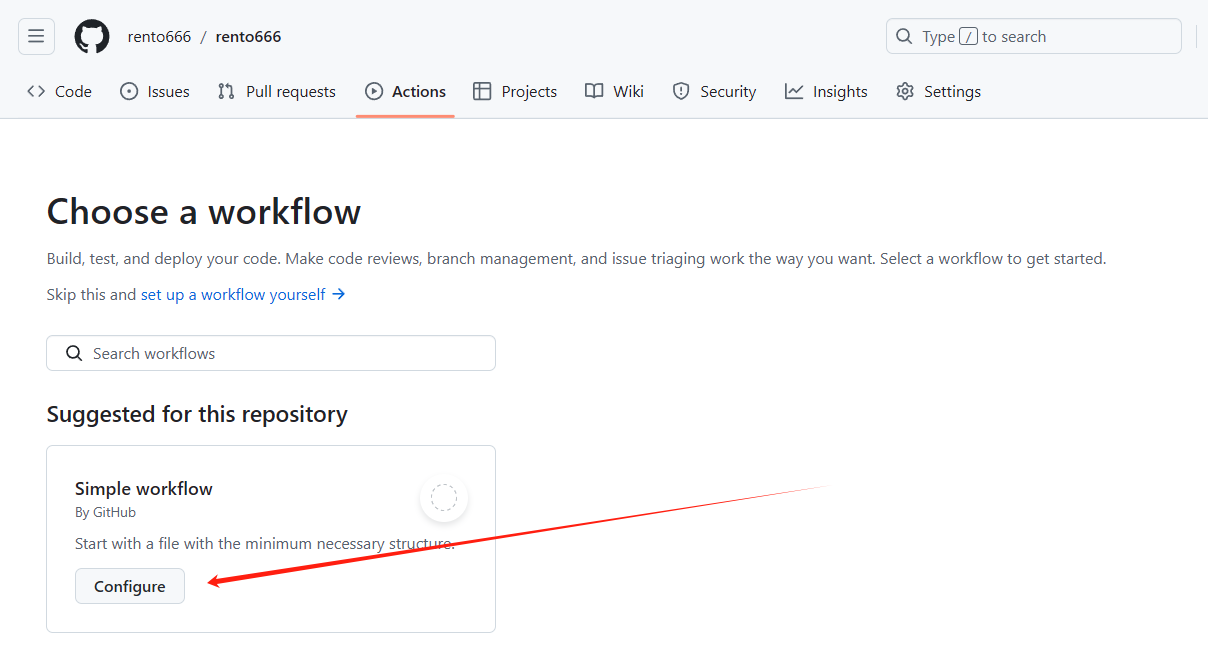
添加如下代码(需要分开,别放到一个文件里):
name: generate animation

on:
  # run automatically every 2 hours
  schedule:
    - cron: "0 */2 * * *"

  # allows to manually run the job at any time
  workflow_dispatch:

  # run on every push on the master branch
  push:
    branches:
    - master


jobs:
  generate:
    permissions:
      contents: write
    runs-on: ubuntu-latest
    timeout-minutes: 5

    steps:
      # generates a snake game from a github user (<github_user_name>) contributions graph, output a svg animation at <svg_out_path>
      - name: generate github-contribution-grid-snake.svg
        uses: Platane/snk/svg-only@v3
        with:
          github_user_name: ${{ github.repository_owner }}
          outputs: |
            dist/github-contribution-grid-snake.svg
            dist/github-contribution-grid-snake-dark.svg?palette=github-dark


      # push the content of <build_dir> to a branch
      # the content will be available at https://raw.githubusercontent.com/<github_user>/<repository>/<target_branch>/<file> , or as github page
      - name: push github-contribution-grid-snake.svg to the output branch
        uses: crazy-max/ghaction-github-pages@v3.1.0
        with:
          target_branch: output
          build_dir: dist
        env:
          GITHUB_TOKEN: ${{ secrets.GITHUB_TOKEN }}
请注意,下面那个博客 workflow,需要将
feed_list更换为自己的博客 RSS 地址。 如果你也是使用的 Hugo,并且主题是 Stack,那么 RSS 地址应该为https://你的博客地址/index.xmlname: Latest blog post workflow on: schedule: # Run workflow automatically - cron: '0 */2 * * *' # Runs every hour, on the hour workflow_dispatch: # Run workflow manually (without waiting for the cron to be called), through the GitHub Actions Workflow page directly permissions: contents: write # To write the generated contents to the readme jobs: update-readme-with-blog: name: Update this repo's README with latest blog posts runs-on: ubuntu-latest steps: - name: Checkout uses: actions/checkout@v3 - name: Pull in blog's posts uses: gautamkrishnar/blog-post-workflow@v1 with: feed_list: "https://cai-hong-tu-blog.pages.dev/index.xml" template: "<div><a href=\"$url\">$title $date</a></div>" date_format: "yyyy-mm-dd"Star 趋势图
在自己开源项目根目录下的
README.md文件中,添加如下代码即可:- 其中,
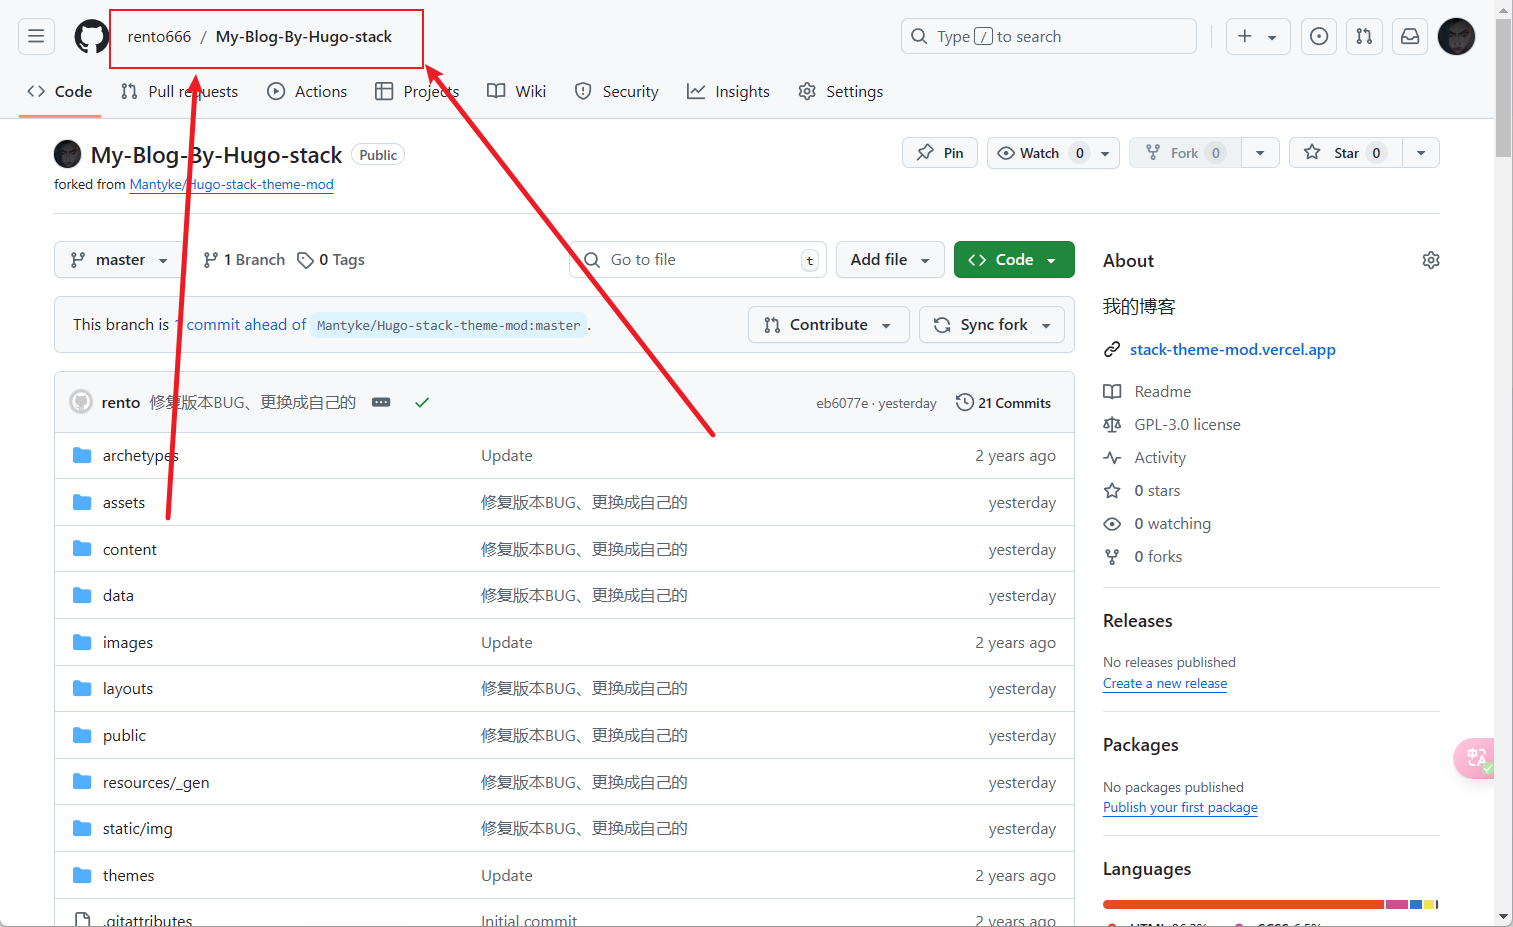
自己GitHub用户名需要替换为自己的 Github 用户名,例如下图为rento666. 开源项目仓库名需要替换为自己的开源项目仓库名,下图为My-Blog-By-Hugo-stack。
<picture>
  <source
    media="(prefers-color-scheme: dark)"
    srcset="
      https://api.star-history.com/svg?repos=自己GitHub用户名/开源项目仓库名&type=Date&theme=dark
    "
  />
  <source
    media="(prefers-color-scheme: light)"
    srcset="
      https://api.star-history.com/svg?repos=自己GitHub用户名/开源项目仓库名&type=Date
    "
  />
  <img
    alt="Star History Chart"
    src="https://api.star-history.com/svg?repos=自己GitHub用户名/开源项目仓库名&type=Date"
  />
</picture>
不确定两个名称的,可参考如下图所示寻找:
附录
参考
-

说些什么吧!